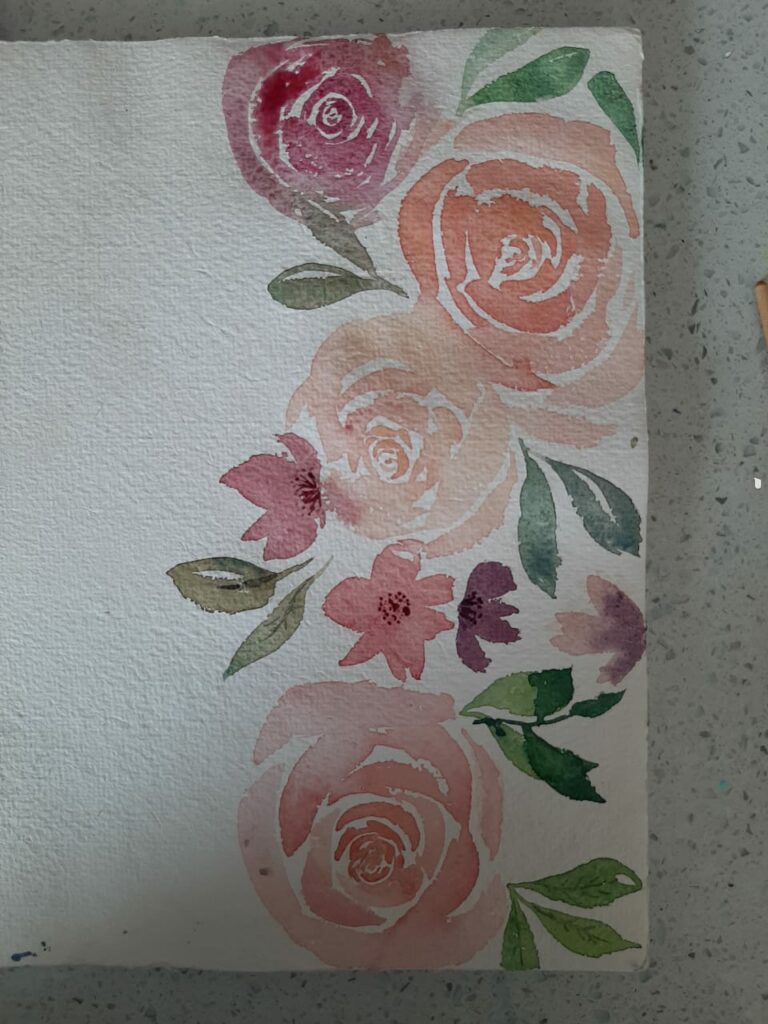
I am really happy with the way this turned out. It took me many tries to achieve that look. I did not want to create realistic roses but, point towards The idea of a rose. I hope to improve in the next paintings. 😊


I am really happy with the way this turned out. It took me many tries to achieve that look. I did not want to create realistic roses but, point towards The idea of a rose. I hope to improve in the next paintings. 😊
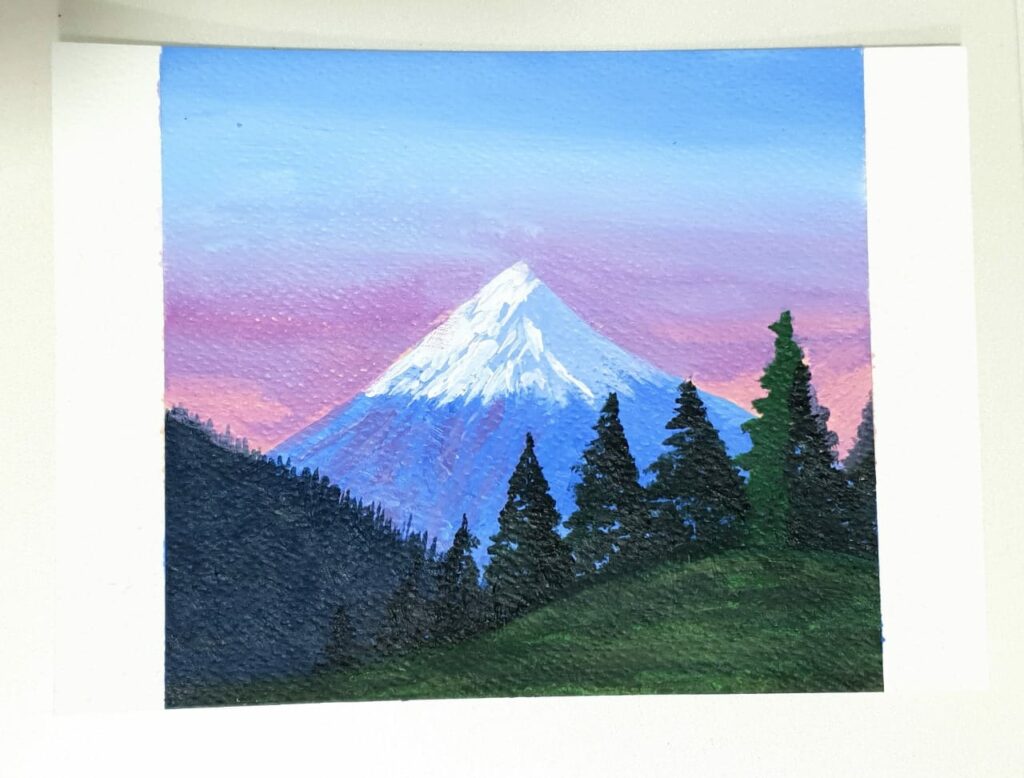
I wanted to go for a chunky look here with minimalist shading and let the viewer know that this is an acrylic painting. I painted this in 4 layers: the sky first, then the mountain, the trees in the back and the trees and hill in the front. This is a little less detailed than my last acrylic painting but, I still like it.
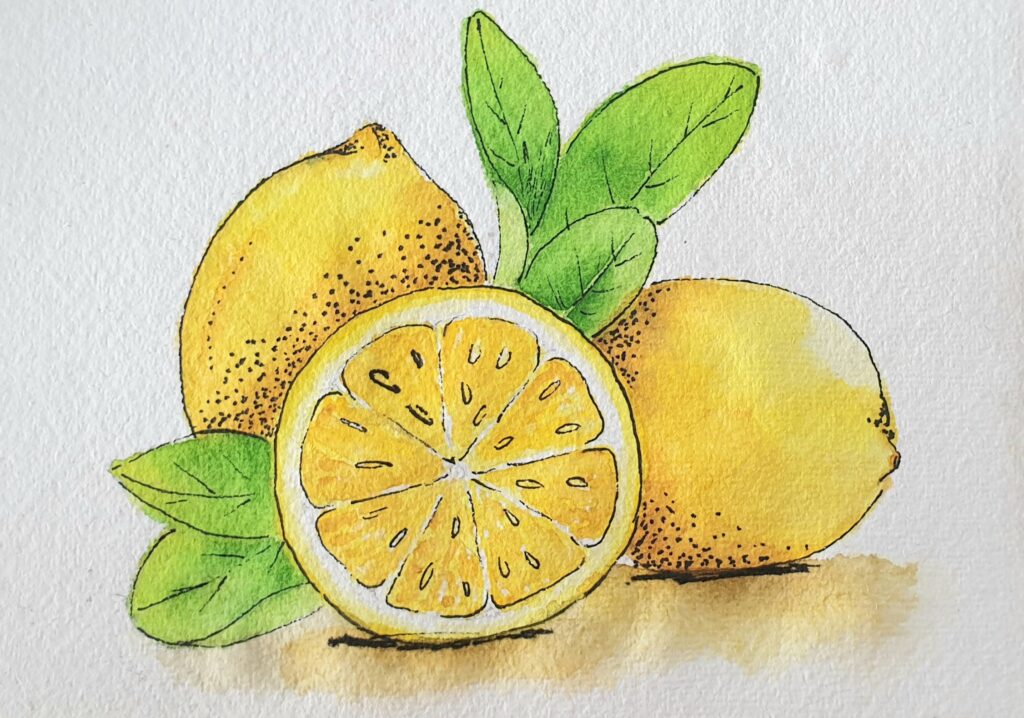
In this painting, I focused on the line drawing more. I wanted to incorporate textures, shadows and shapes through lines; not colours. I took a very minimalist approach with this. The colours are just washes with different saturations and there’s nothing there to show the highlights.
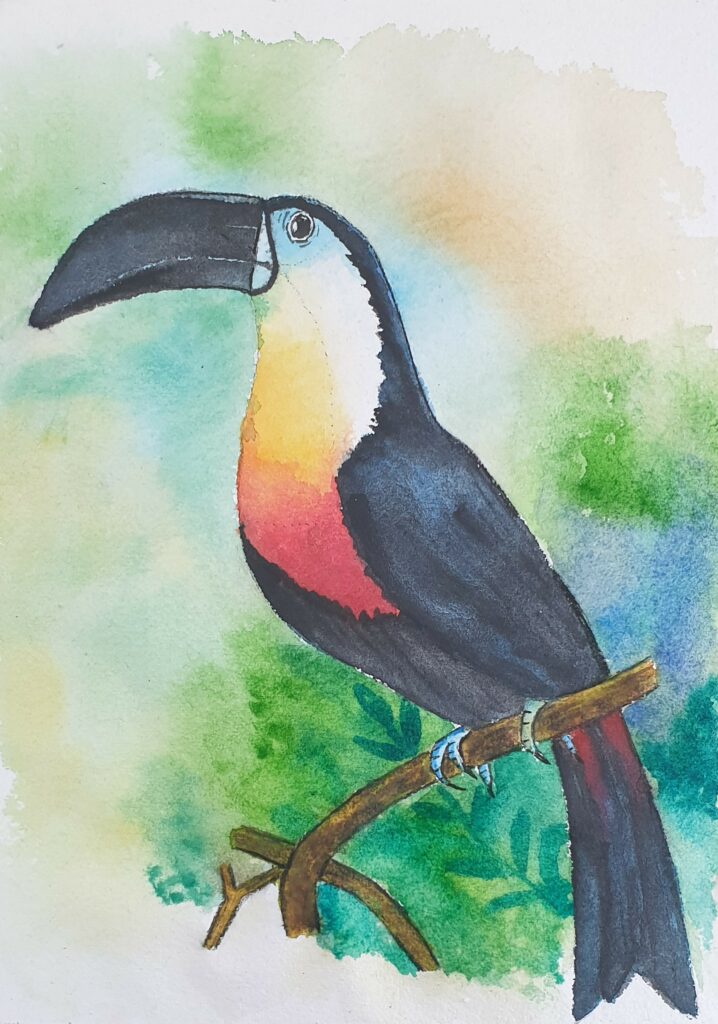
I am really happy with the way this turned out. I started by a line drawing and started with the background. It took me 3 layers of washes to achieve this nice watercolour effect. For the main bird, I did not want to go for a realistic look. I wanted the person viewing this to see a painting, not a picture. Hence, I did not blend everything smoothly. I let the splotches be.
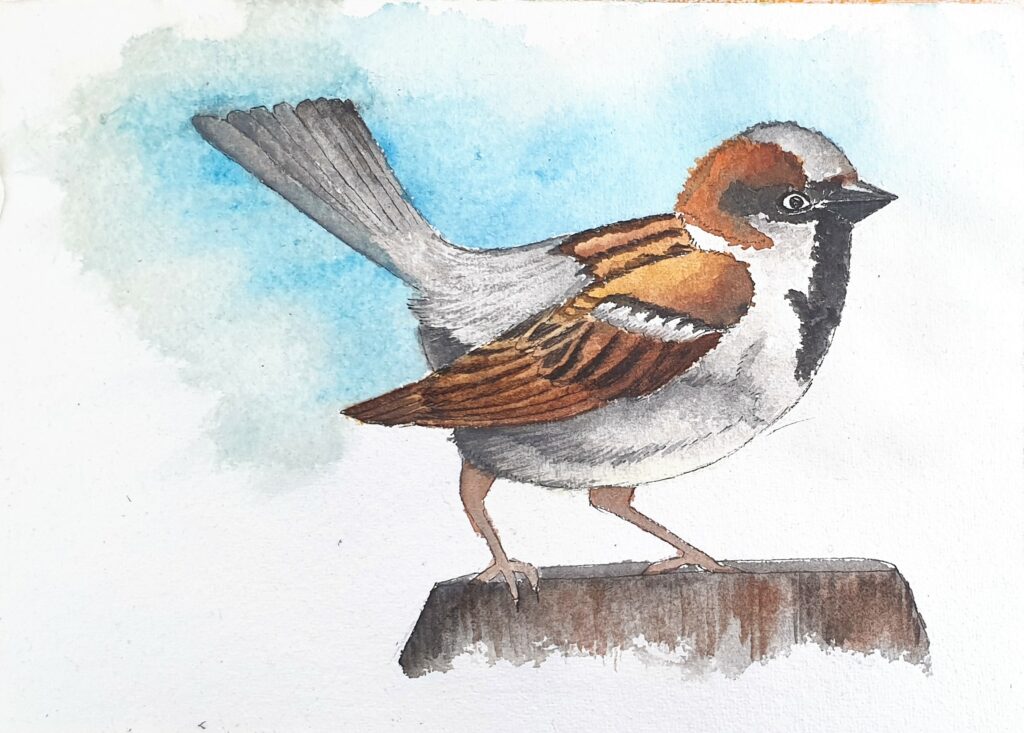
This is one of my first watercolour paintings of birds. I tried to create a very minimalistic background consisting of very light washes so that the Sparrow pops out. I started with a line drawing and gradually added layers of washes to create the illusion of artistic feathers.
This time, I wanted to paint in acrylics. Instead of following a YouTube tutorial, I decided that I wanted to come up with something original. That is, I wanted to follow the layers of a tutorial but paint something different.
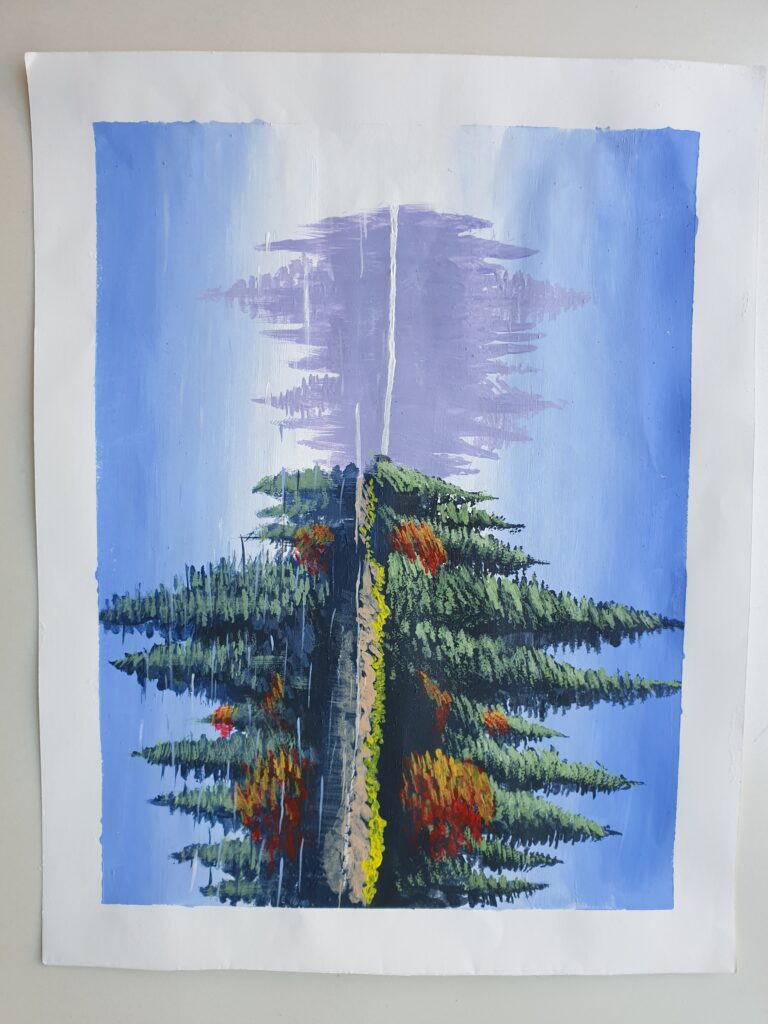
So, I went with a classic evergreen reflection. I started off by mirroring whatever I was painting in the upper half of the paper into the lower half. The sky gradient went well. It looked a little patchy but smooth at the same time which was the look that I was going for.
Next up, Pine trees far away. Firstly, I mixed colours wrong. I was going for a “Purplish-Blue” but ended up with a “Bluish-Purple”. I decided to go for it since I was a fan of that shade when it came to watercolours.
That was a really bad decision. It looked downright gaudy. The trees weren’t straight, the line dividing the horizon was wonky and it didn’t look realistic at all. So, I thought that if I carefully paint the trees up front, will anyone notice the mess in the back?
I looked up an image of pine trees on google and observed that the tapering leaves went about each side in a zig-zag way. So, I got to painting the main shape with a darker green. I mirrored the trees in the lake in a wonkier fashion. For it to look like a reflection. It started to look weird, but I kept my hopes up.
It started coming to life as I painted the highlights in a lighter green and lime green. I then toned the colours down to paint the reflection which was a really good idea.
Finally, after painting little waves in the lake, the painting looked amazing! You didn’t even notice the messed up pine trees at the back! This is how it looked:
So, Toast has grown out of his old Bandana. This time, I wanted to make one that didn’t need anything to go onto him like a collar. So, I invented a pattern specifically tailored for Toast. It had to be reversible, fit him when he grows up and with an easy attachment.
I started off by measuring his neck with a shoelace.
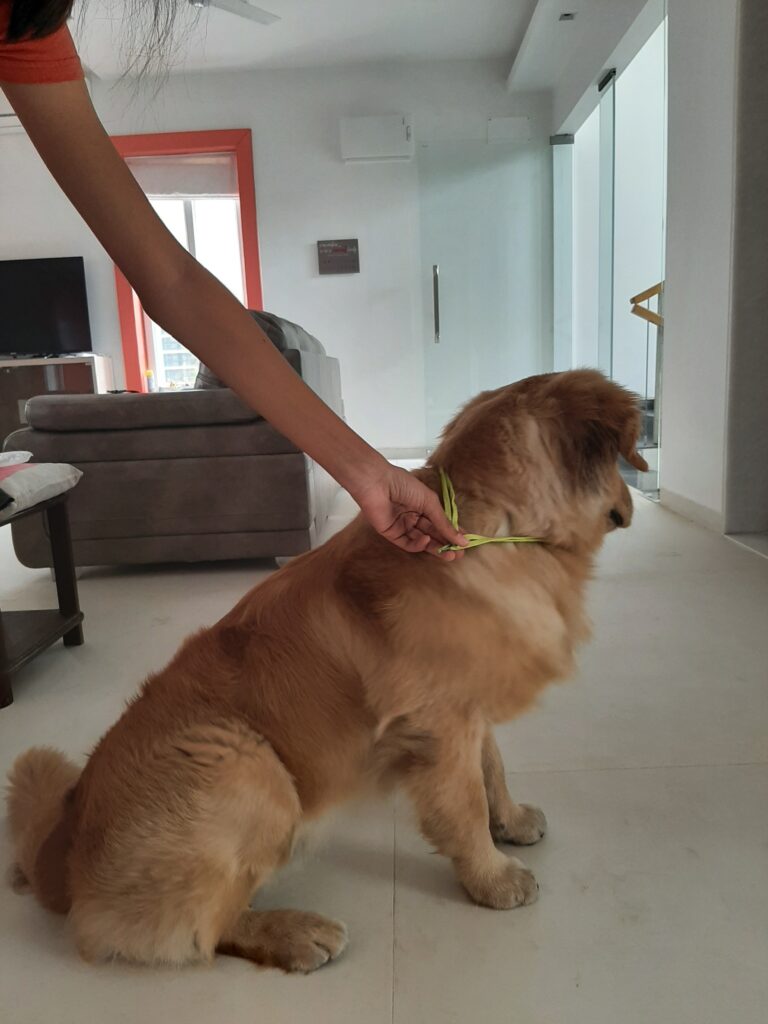
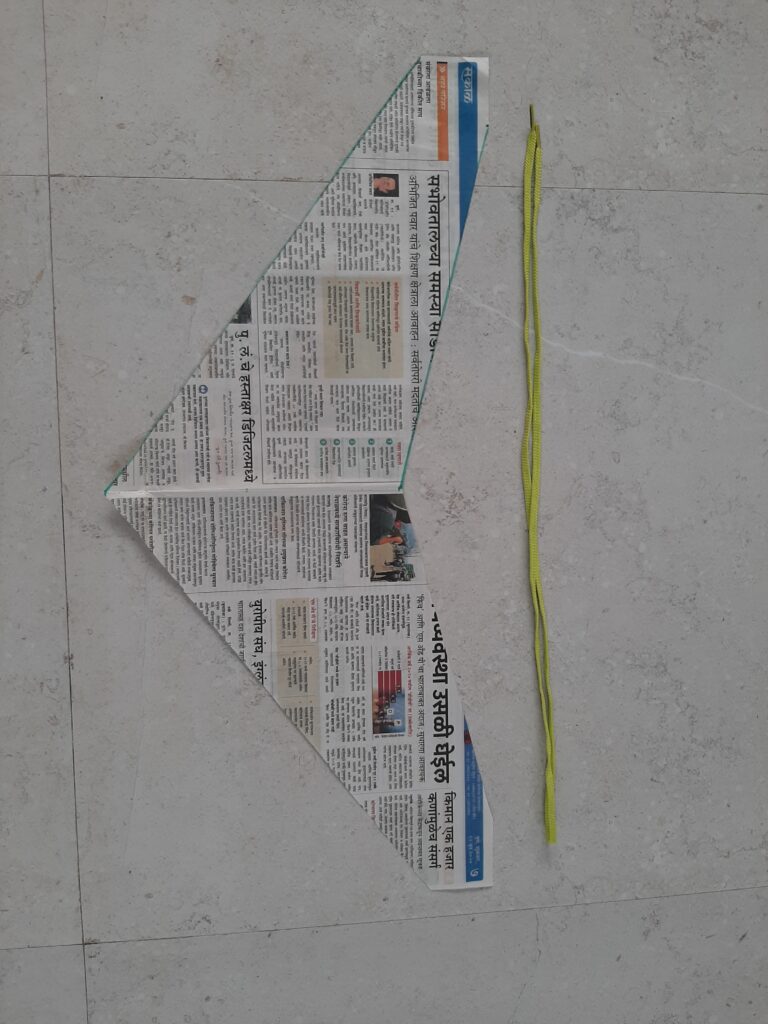
Then, I started to make a rough sketch of the Bandana with the seam allowances onto a newspaper, keeping in mind the length of the shoelace.
Then, I wrapped it around his neck to see if it fit him properly. With, lots of room to grow. Like so:
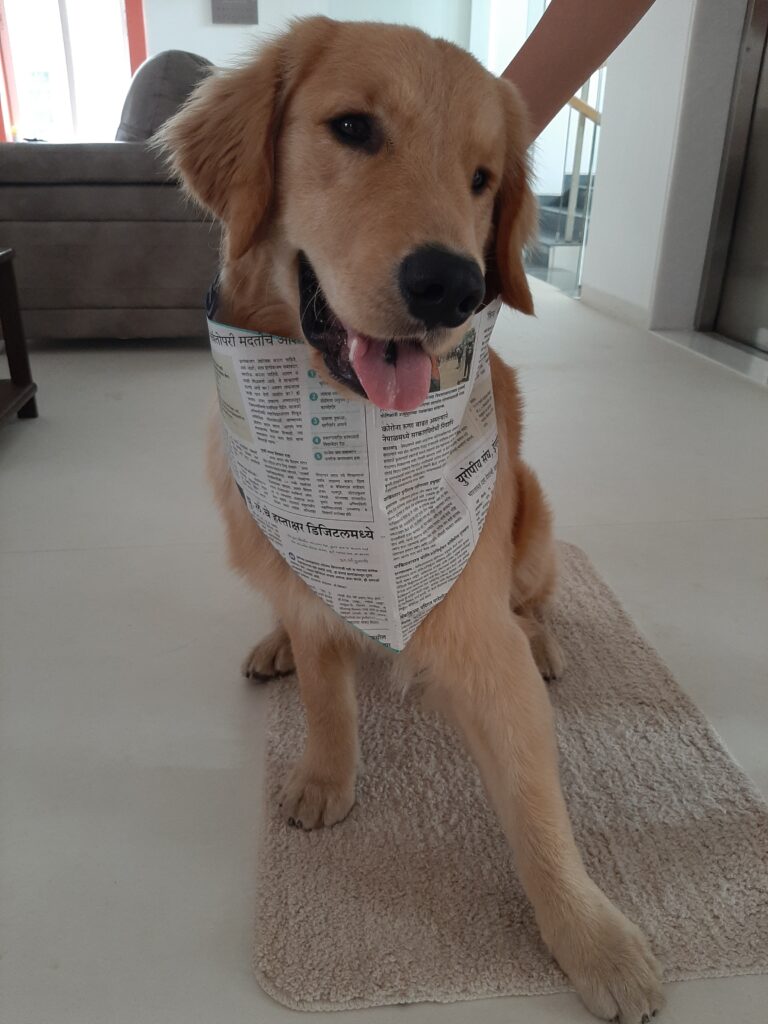
Now that it fit him perfectly, it was time to start stitching!
I chose a peach and a neon yellow fabric. After seeing how translucent they were, I decided to put a layer of white fabric between them to make the colours pop. I cut the pieces according to my newspaper template and started sewing!
I finally finished sewing the 3 pieces of fabric together and had sewn the velcros on. This is how his bandana turned out!
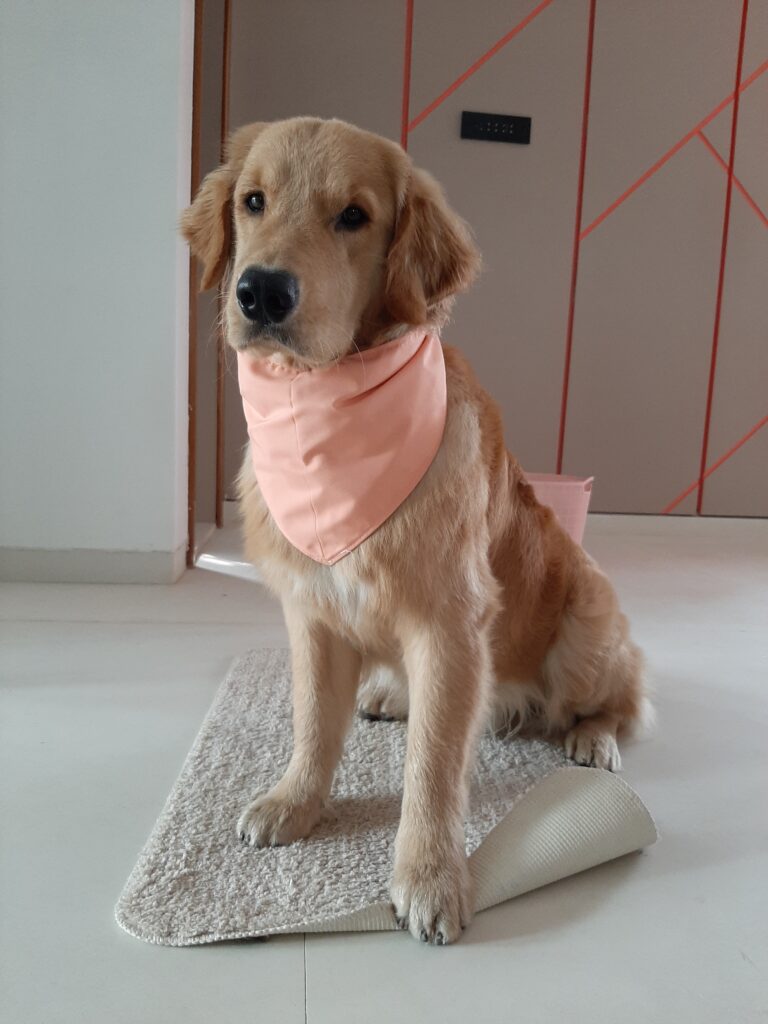
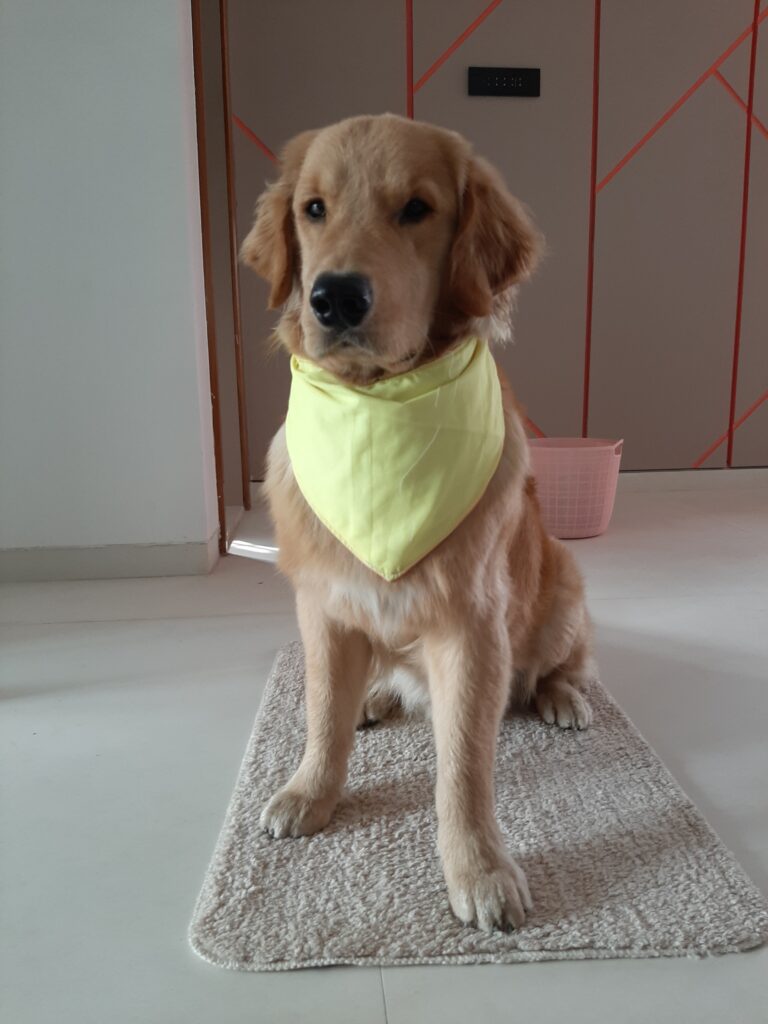
I was super happy with how the bandana turned out. Thank you so much for following my process of making this bandana and I will soon make a tutorial on how to make the pattern for this design. See you soon!